


How to use messages
This page explains the message functions.
You can attach not only text, but files to a message.
In addition to normal message functions, Class use message function that can be used only for a specific class is also provided.
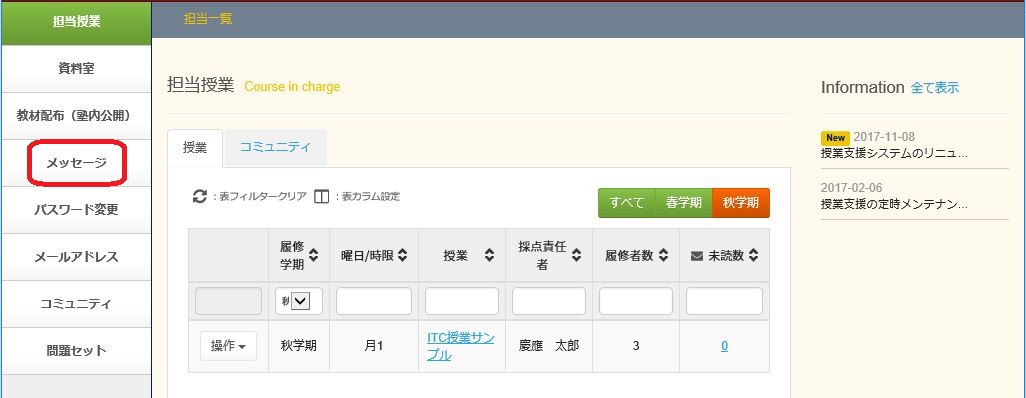
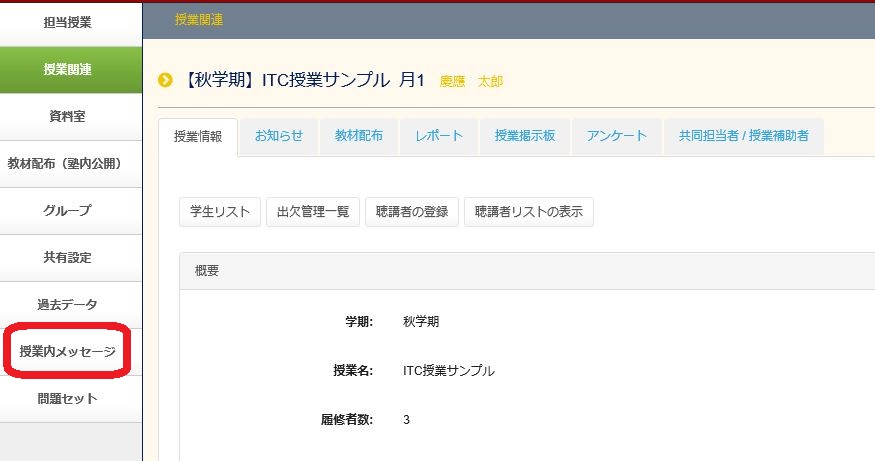
To use the message function, click the [Message] tab from the top screen of class support.
How to use message
- Creating and sending a message
- Receiving and replying to a message
- Deleting a message
- Class use message
- E-mail notification function
a. Creating and sending a message
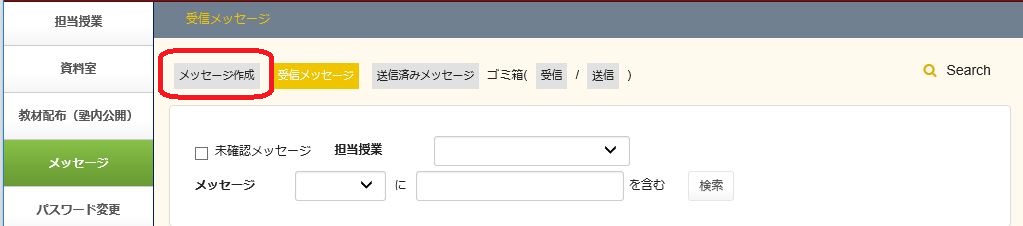
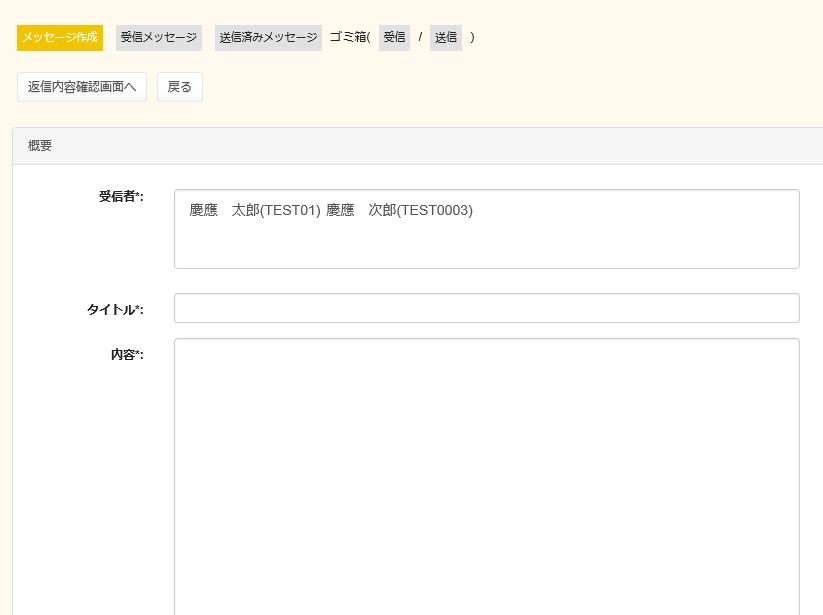
To create a message, click [conpose message].
The create message screen opens.
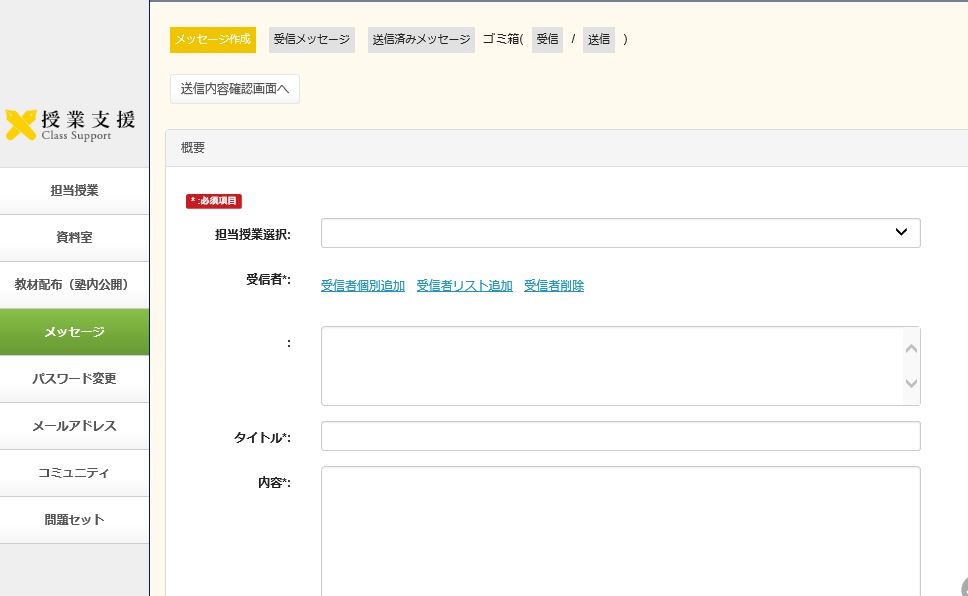
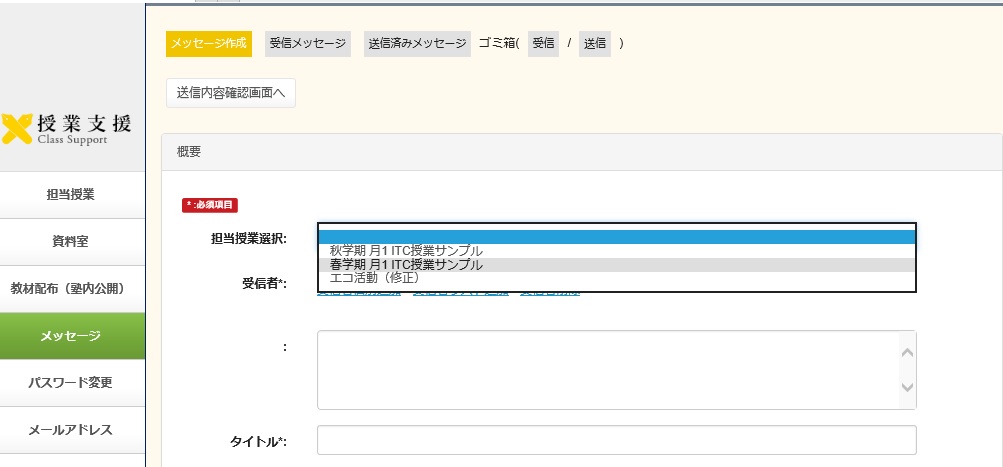
When you press ▼ on the right side of [class in charge choice], the list of your teaching classes is displayed.
When you select and set the course in charge, it is registered as class use message.
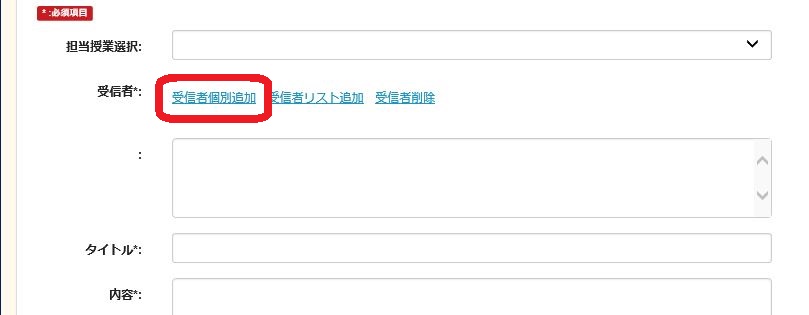
Next, enter the recipients of the message in the recipient box.
There are two methods: [add recipient(s)] which is entering addresses individually, and [add recipients list] which is using a list of recipients prepared based on recipients in the past to enter multiple people.
To add recipients individually, click [add recipient(s)].
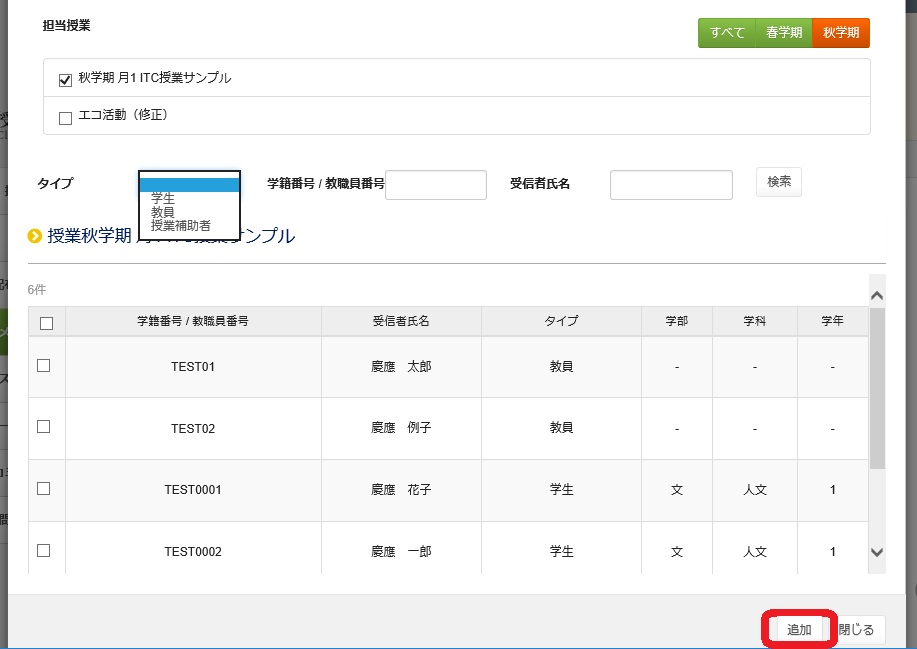
The [add recipient(s)] window opens.

Either select a course in charge or search under Student/Personal ID or recipient name, and display candidates for recipients that you wish to add.
(When you have selected a course in charge and it has been registered as class use message, registered students of the selected course are displayed as recipients.)
When you want to further narrow the recipients, it can be done by selecting the type (Student, Faculty member, or TA).
Enter a check in the check box on the left side of the recipients that you wish to add and press the [Add] button on the bottom right.
(When you wish to add all of recipients displayed, enter a check in the check box on the left side of [Student/Personal ID].)
If there are some recipients lists that were formerly created, pressing [add recipients list]
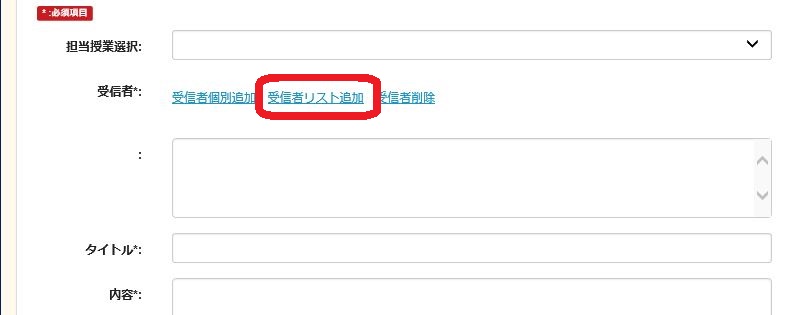
displays the registered recipients lists。
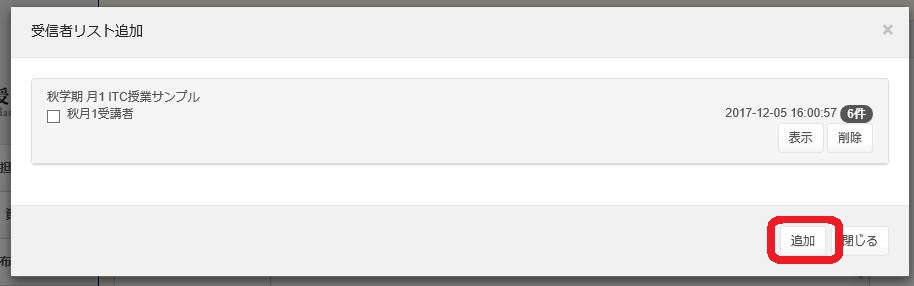
Enter a check in the check box on the left side of the recipients list and press the [Add] button on the bottom right.
(Please note that a recipients list created by class use message will not be displayed for other courses in charge.)
If you do not wish to send messages to a recipient listed in the list, clear the check box on the left side of his/her name.
And you can remove the recipient by pressing [delete recipient].
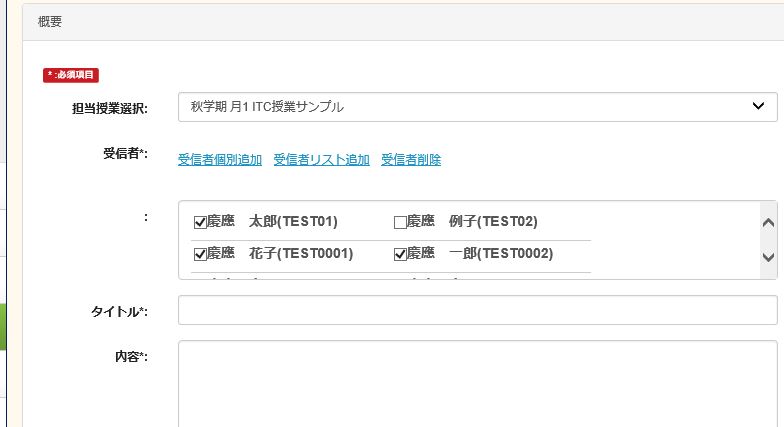
Enter a subject into the title and text into the contents.
And if necessary add a file.
private memo are not sent to recipients because they are intended to be easily distinguished from messages that have been prepared.
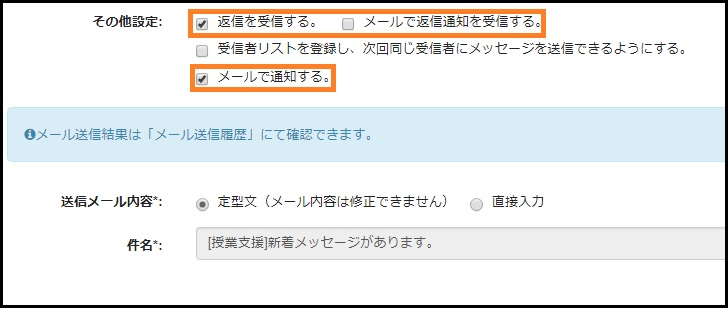
Regarding [other settings]
When you remove a check from [Receive the reply message], the other party cannot reply to this message.
When you remove the check from [Notify recipient(s) by e-mail], you cannot send a notification mail to the recipient.
When you enter a check at [Receive the reply notification by e-mail] you will be notified of a reply by e-mail.
Entering a check to [Register the recipients list which is available when sending an message to the same recipients], and creating a recipients list under an optional name permits the creation of a recipients list in order to simplify sending messages to the same recipients next time.
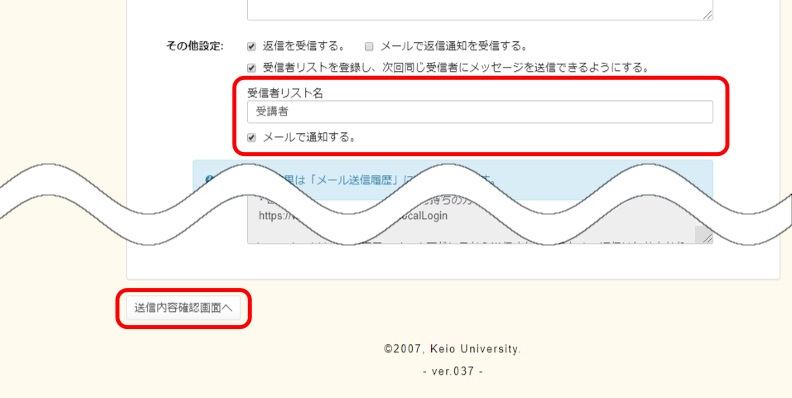
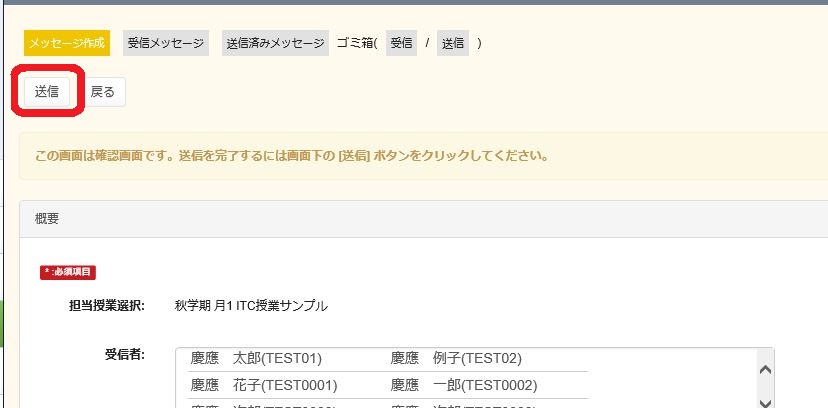
After all entries are completed, pressing [Confirm] displays the confirmation screen.
Confirm contents and if there are no problems, push the send button on the upper left.
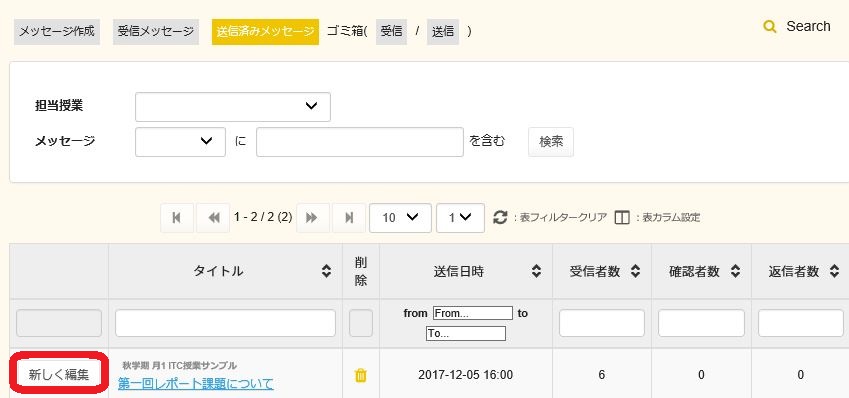
Outgoing message are displayed, permitting you to confirm that sent messages.
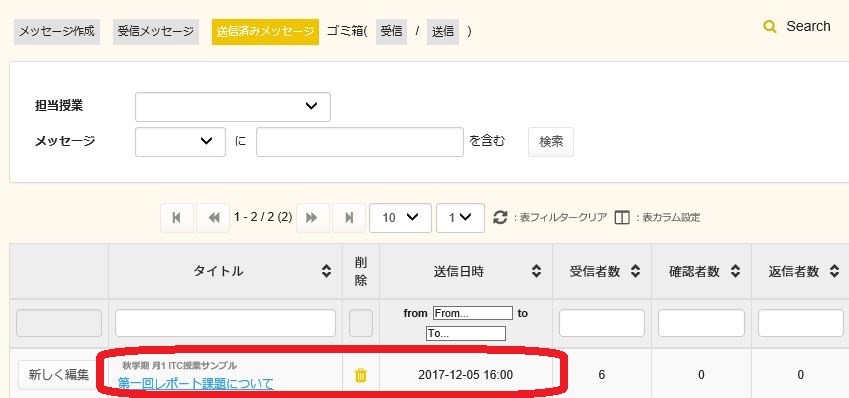
And regarding messages that have been sent, you can newly edit and reuse sent messages from editing to send new messages.
b. Receiving and replying to a message
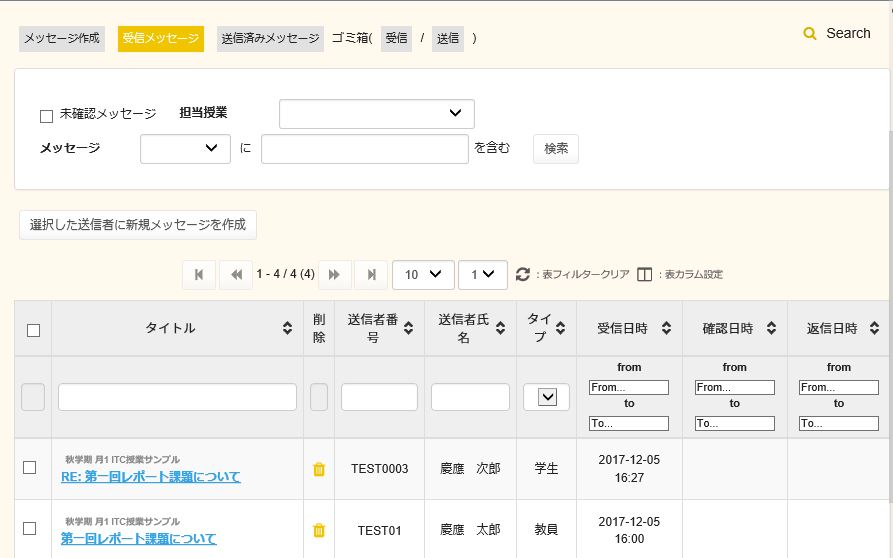
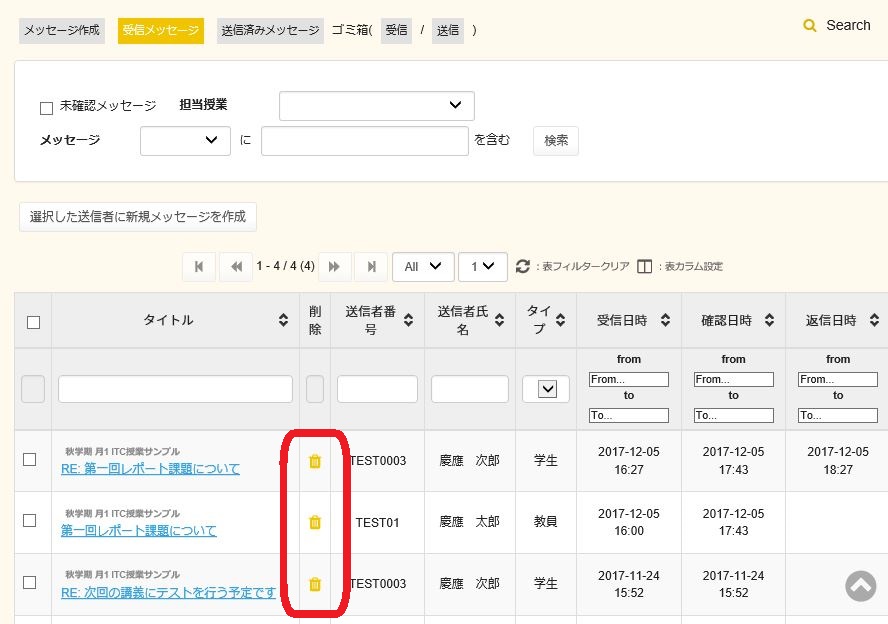
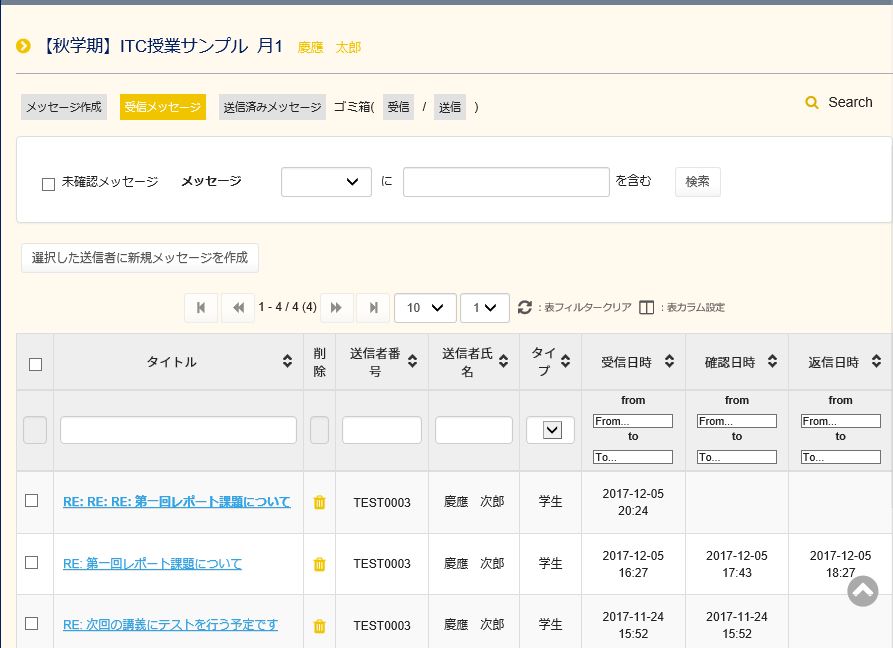
Opening the tab of incoming message displays a list of received messages.
If there are many messages, you can search by status or keyword, such as unread message, course in charge or text of message, on the top of the screen.
You can also narrow your search in the message list by text included in titles, student ID number or faculty member ID number of sender, name of sender, type of sender (faculty member, student etc.), time period message was received, time the message was confirmed, or time of reply to the message.
The number displayed in the message list can be selected from among: 2, 10, 20, 30, 50, 100, or All.
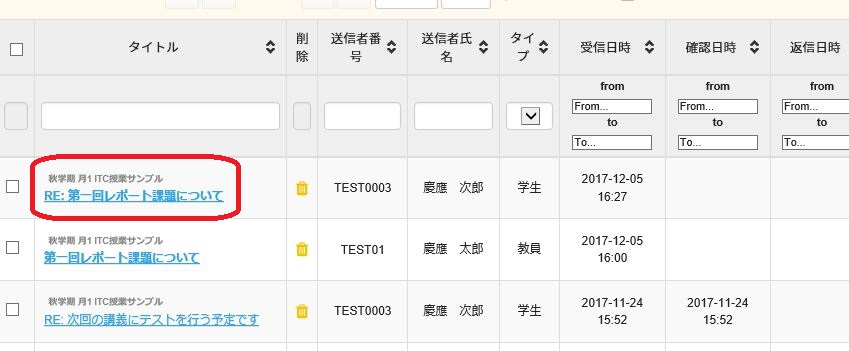
To read a message, click the title of the message you wish to read.
The contents of the message are displayed.
To open a file attached to a message, press the [Download] button under the file to save and open the file.
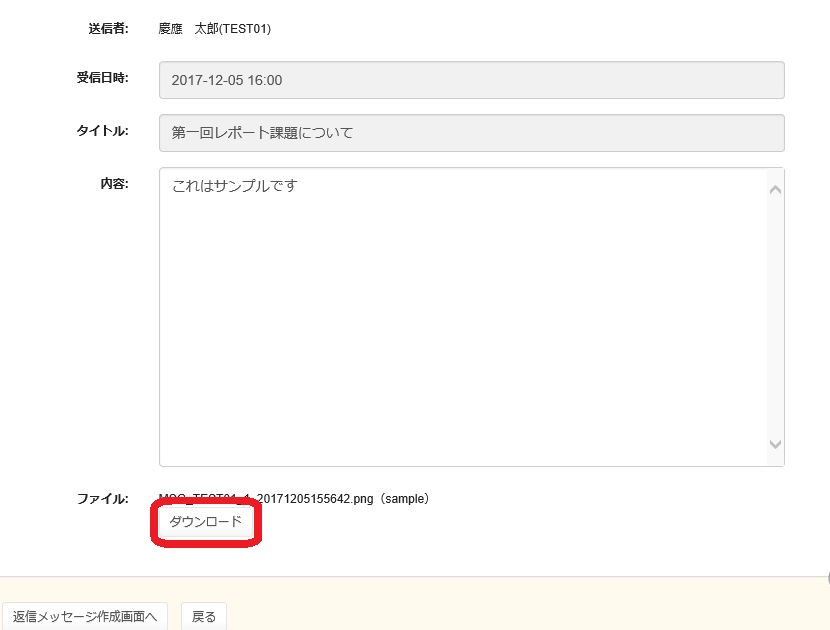
To reply to a message, press the [Compose Reply Message] button.
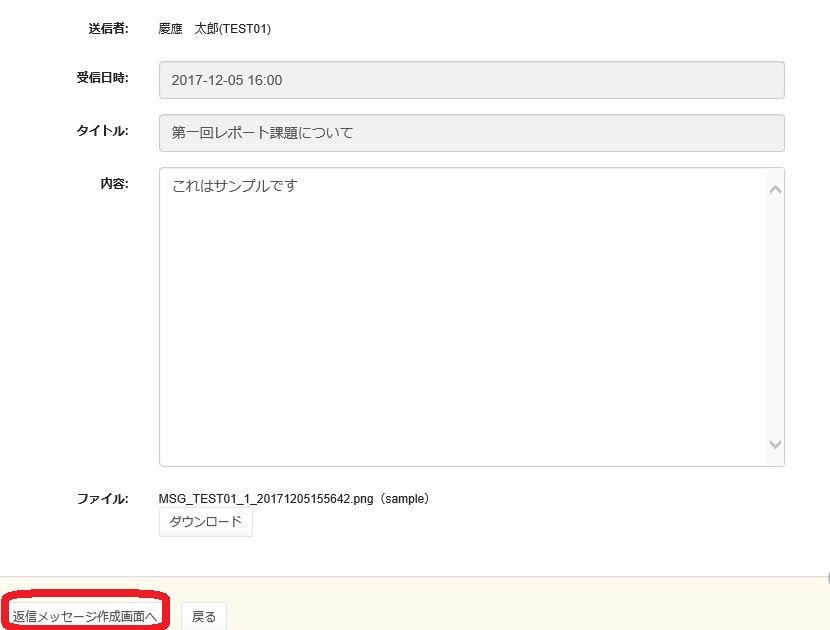
The reply message creation screen opens.
The text of the original message is quoted.
You can edit the body, and if necessary, attach the file.br/>
And write an private memo that will not be displayed to the recipient in order to easily distinguish the reply from the sent message
This other setting is, similarly to the creation of a new message;
if you remove a check from [Receive the reply message], the other party cannot reply to this message.
If you remove the check from [Notify recipient(s) by e-mail], you cannot send a notification mail to the recipient.
If you enter a check at [Receive the reply notification by e-mail] you will be notified of a replay by e-mail.
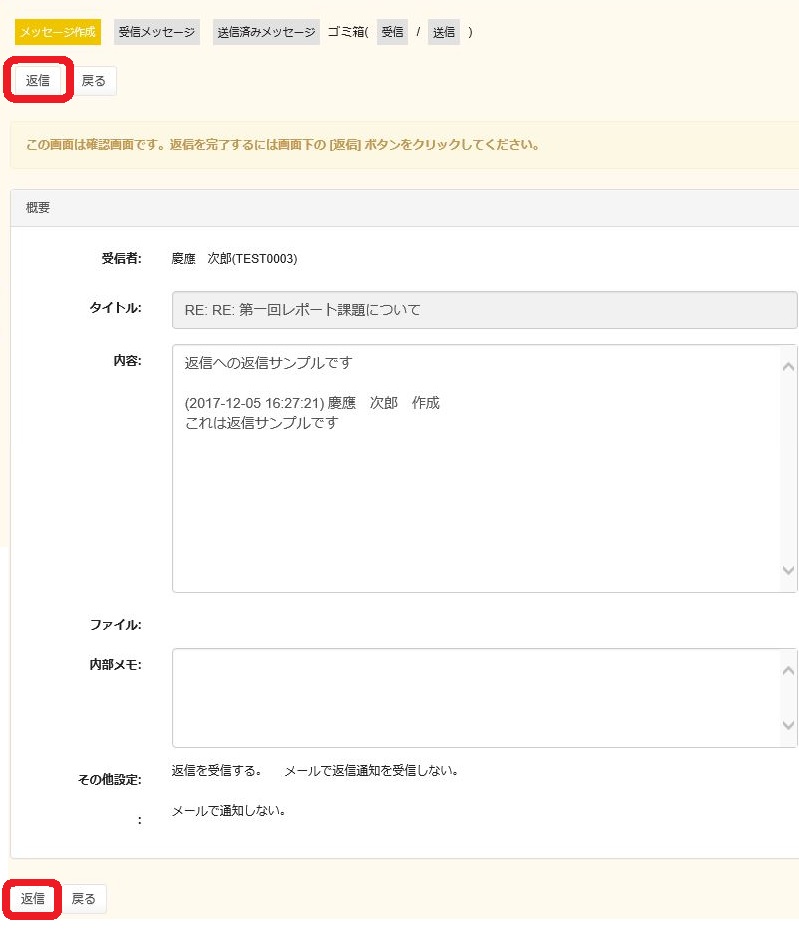
If you have any problem with entry, press [confirm] on the lower right
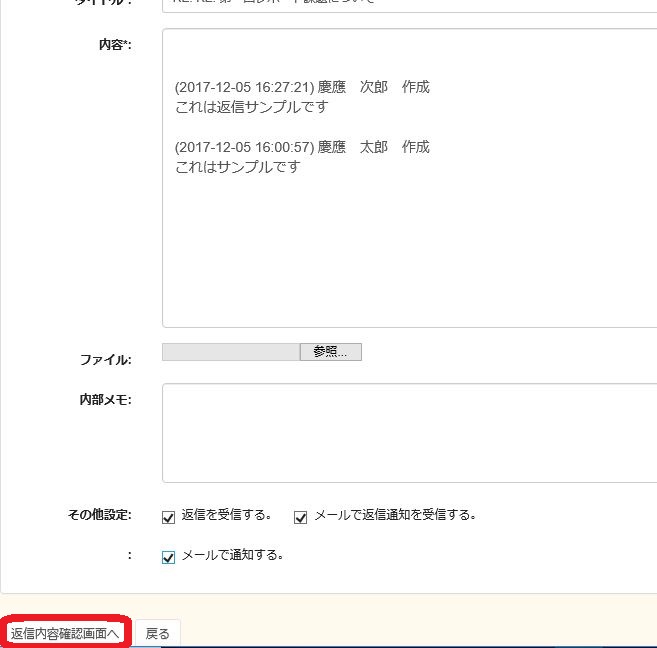
to open the reply contents confirmation screen. When you have no problem, press the reply button on either the bottom left or top left to send the reply message.
By entering a check in the check box on the left side of multiple messages, then pressing the [Compose Message to Selected Sender] button, you can send a replay message to multiple recipients.
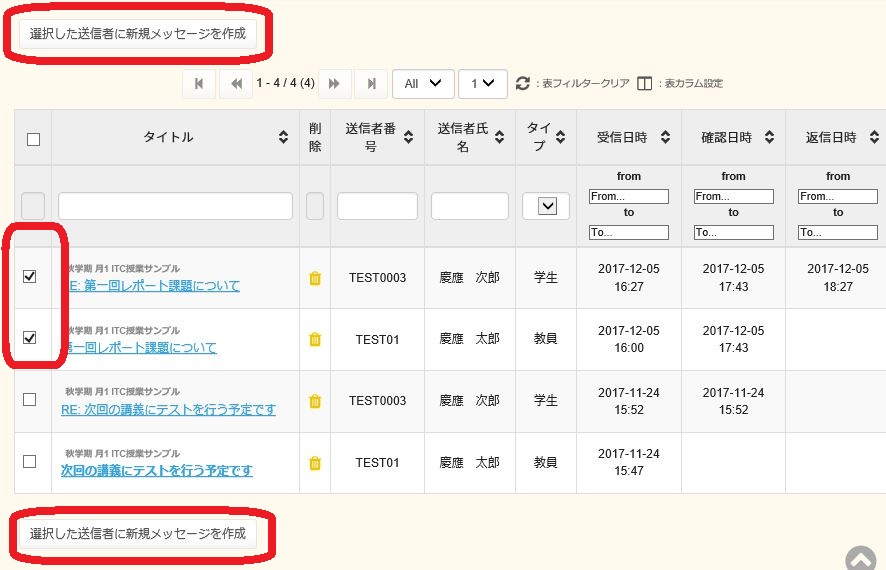
In this case, because a reply is created from multiple different messages, there is no quoted title or text.
c. Deleting a message
Deleting a received message
By clicking the trash mark at a message that you wish to delete from the received message list, you can place that message in the trash.
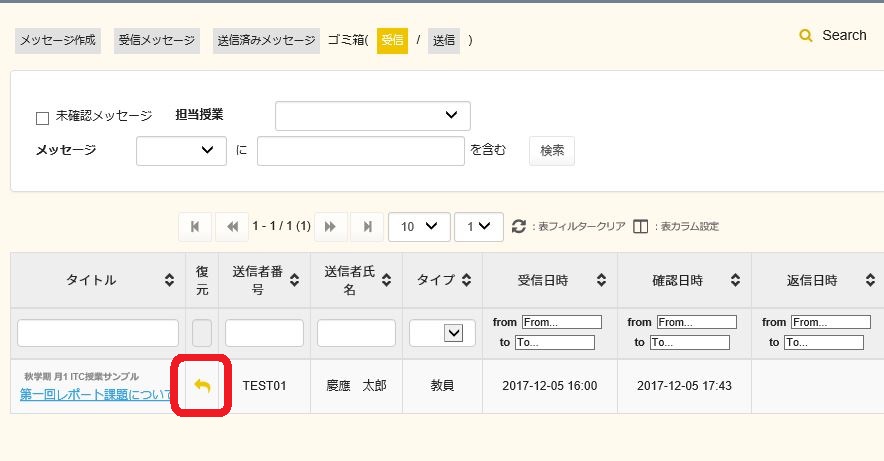
By pressing incoming message on the Trash (incoming message/outgoing message),

you can display e-mail that has been deleted from received messages.
You can return a message to the received message list by pressing the Restore button on the message in the trash.
You can delete and restore a sent message in the same way.
You cannot delete all messages inside the trash.
d. Class use message
Select and press a class from among Course in charge,
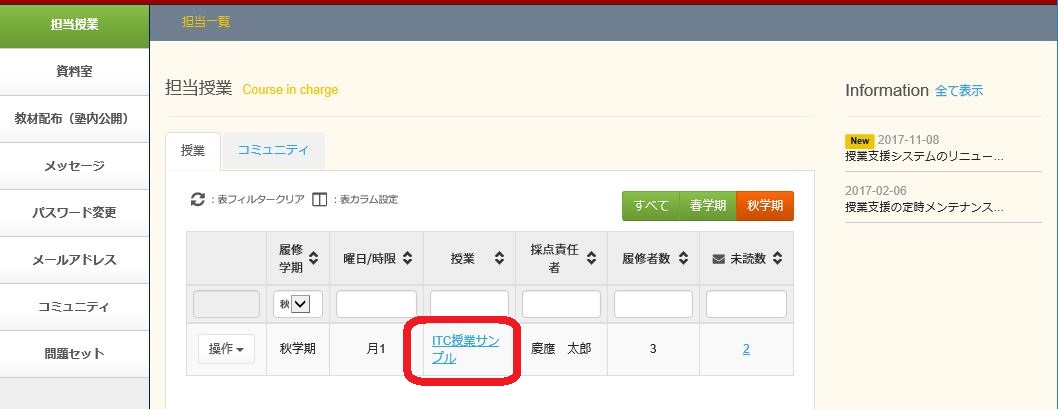
then press [Message on a class] from the menu of the selected classes.
Only the messages in the selected classes are displayed.
Class use messages of other classes and messages that are not class use messages are not displayed.
Message created here are all class use message of the teaching classes selected.
e. E-mail notification function
A faculty member can make these settings when creating a message.
(1).Receiving a reply to a sent message (enabled by default)
- You can set whether or not to receive a reply to the message you have sent.
- When you remove the check at [Receiving a reply to a sent message], the [Receiving replay notification by e-mail] option is hidden.
(2).Receiving replay notification by email (enabled by default.)
- When you received a reply to a message that you have sent, a notification is sent to your email address registered with the class support system.
(3).Notification by email (enabled by default.)
-
A notification can be sent by email to all users set as recipients when sending a message.
A message can be sent by email in the form of fixed text or directly entered text. A recipient can click on a link in a notification email to directly access the corresponding message.
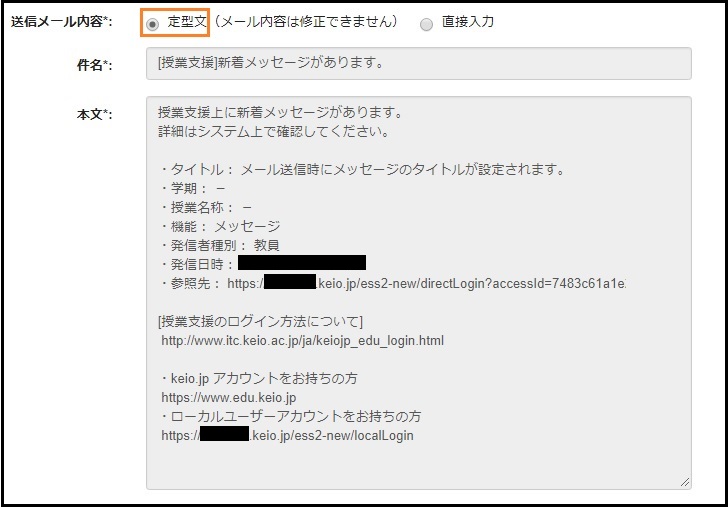
Template
Pre-made text stored in the system is used as the content. It is not possible to modify the fixed text. To input modified content, use the free input feature.
Reference: Email Notification (Template)
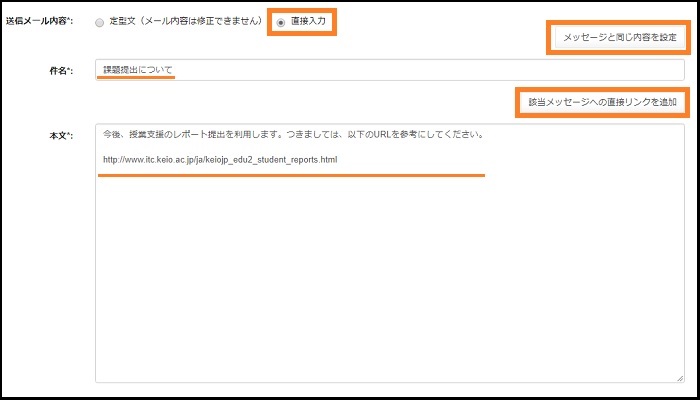
Direct input
Direct input allows you to freely enter subject and main body. Click the [Copy form the message] to use the content set in the message as the content of the notification. A link can be added by clicking the [Add direct link to message] button. Because no file can be attached to a notification by email, use a shared link to Box or Google drive to share a file.
Reference: Email Notification (direct input)
Case where notification is set to a received message
Notification email is sent to the email address registered with the class support system.
The email transmission status can be checked in the email transmission history.
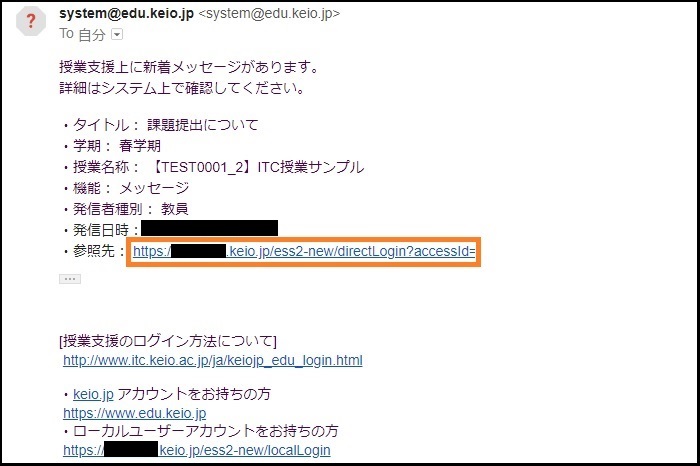
Link
Clicking the link in email notification displays the details.
Teaching assistants cannot use the link feature as they are in charge of the class on an irregular basis.
Reference: Email Notification Content (link)
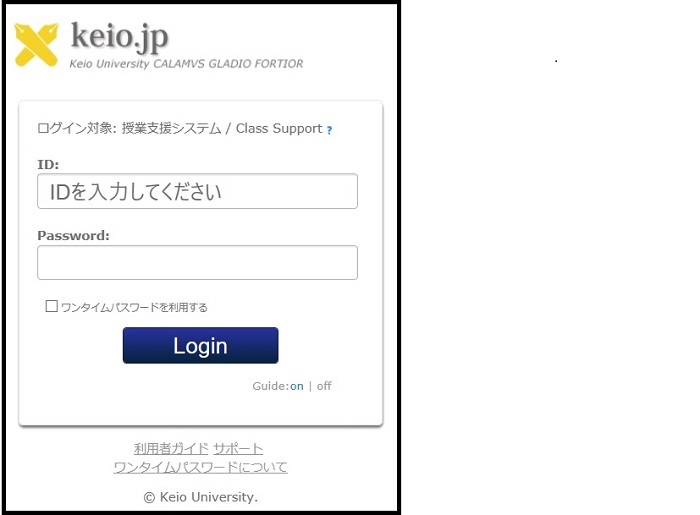
The authentication screen of keio.jp appears. Log into the system.
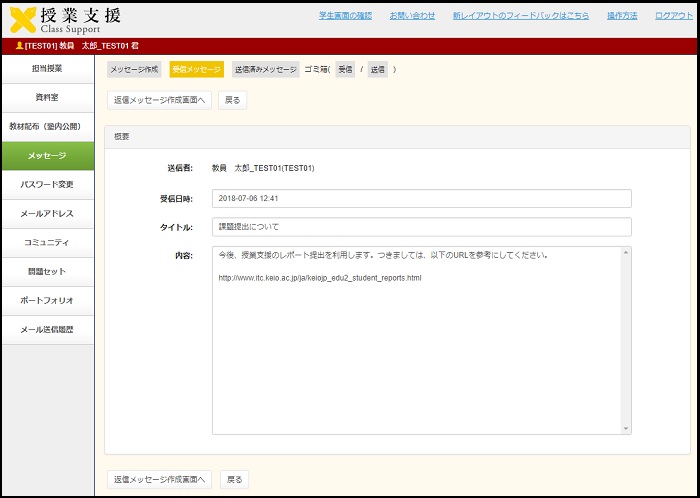
The received message screen appears.
Last-Modified: August 7, 2018
The content ends at this position.