Creating a group
Creating a group
After creating a group, make sure to set the group permissions.
-
This page describes the procedure for creating a new group.
Open Google Groups, and click "Create group".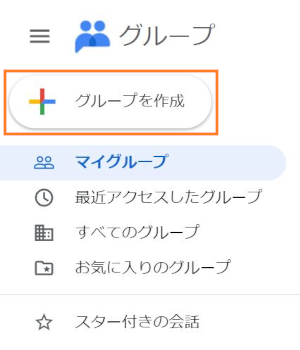
-
The 1st page of the group creation screen pops up, fill in the fields, and click "Create group".
Note: Confirm that the domain name shown in the pull-down list is "@keio.jp".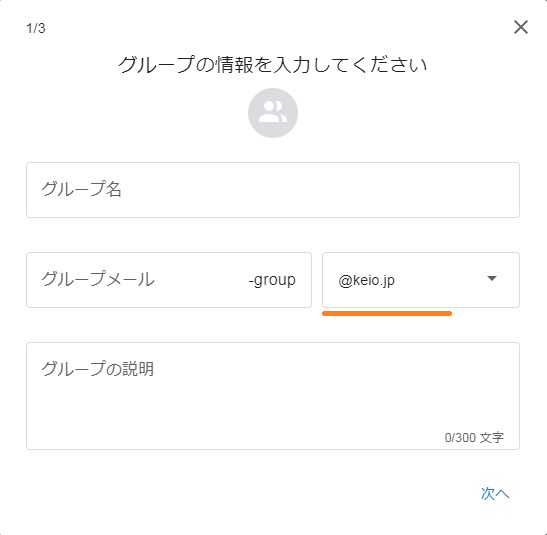
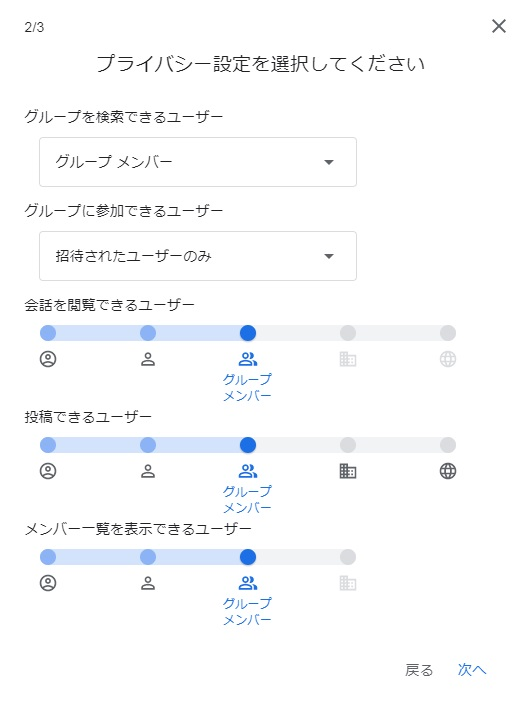
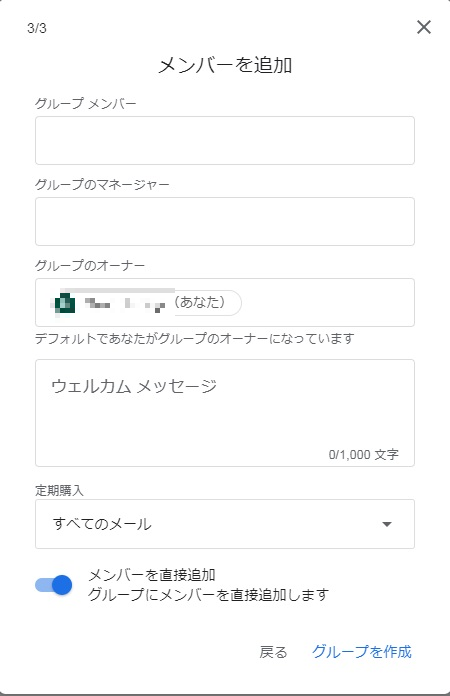
The items in the group creation screens are as follows.
-
Group name:
- The name of the group. Give an easily distinguishable name (e.g. xxx project, communication in xxx dep).
-
Group email:
- The email address of the group. Emails sent to this address are posted in the group conversations and all members will receive the emails.
-
"-group@keio.jp"* is suffixed to the entered group name.(e.g. If "mitaclub" is entered, the group email address will be "mitaclub-group@keio.jp".)
The suffix "-group@keio.jp" cannot be changed.
-
Group description:
- We recommend you to enter, for example, the purpose of the group as a description to facilitate group management.
-
Basic permission settings:
- Carefully make these settings because they are very important.
- Refer to Set who can view, post & moderate to make these settings.
- Also see Setting group permissions to use the group as a mailing list.
-
Group name:
-
The screen below is displayed when the group has been created.
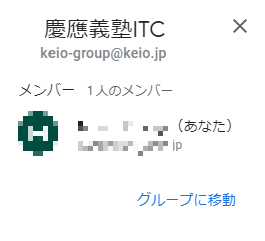
Note: If any groups added to "My groups" are not displayed, refresh your browser by pressing the F5 key.
If you created group, be sure to set group permissions after it.
Update Information
Last-Modified: October 14, 2020
The content ends at this position.


