


Example 1: Use a group as a contact point for anyone on the web.
This example sets a group as a contact point for the public.
In this setting example, anyone can post to the group, and responses to the posts are sent from the group’s address.
Only the group members can view the content of the group.
Setting example
-
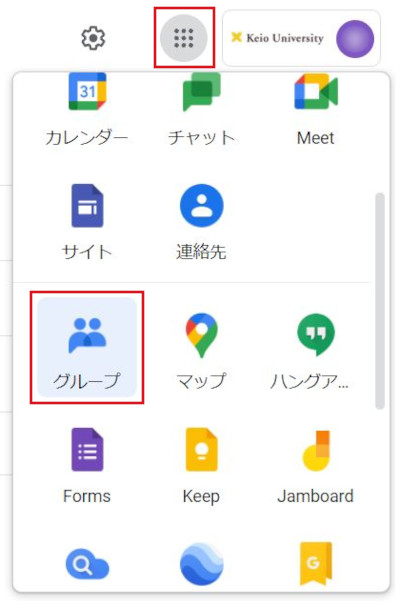
Select "Groups" from the Google applications.
-
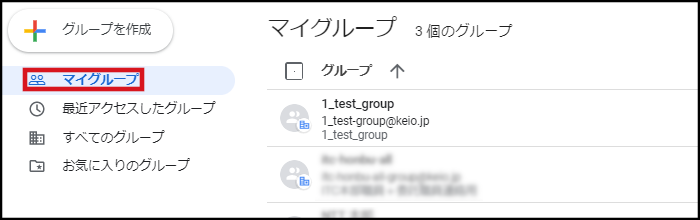
Click "My groups".
-
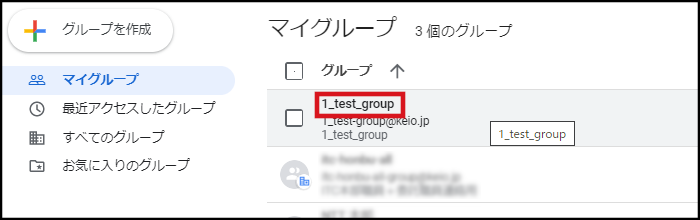
Click the group (mailing list) that you want to make the settings for.
-
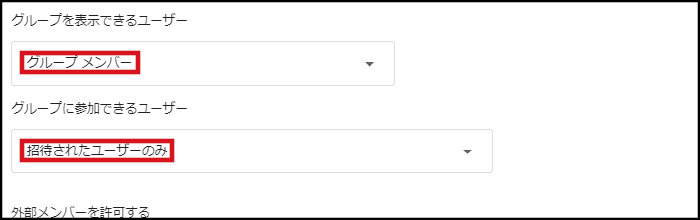
Click "Group settings" - "General" in the left menu. Make the following settings, and then click "Save changes".
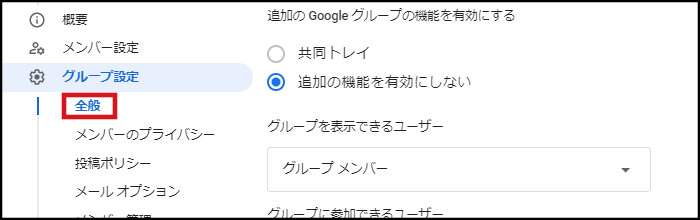
- Who can see group: Group members
- Who can join group: Invited users only
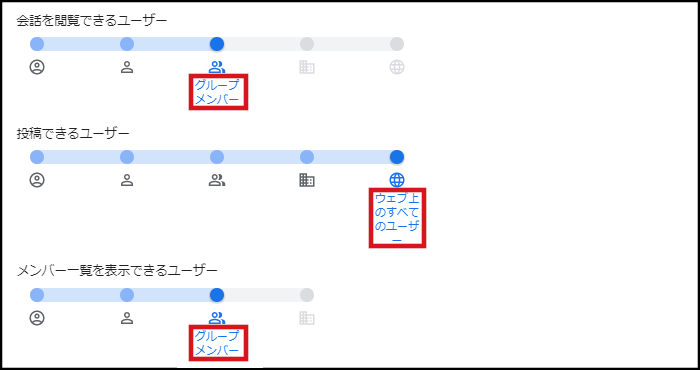
- Who can view conversations: Group members
- Who can post: Anyone on the web
- Who can view members: Group members

-
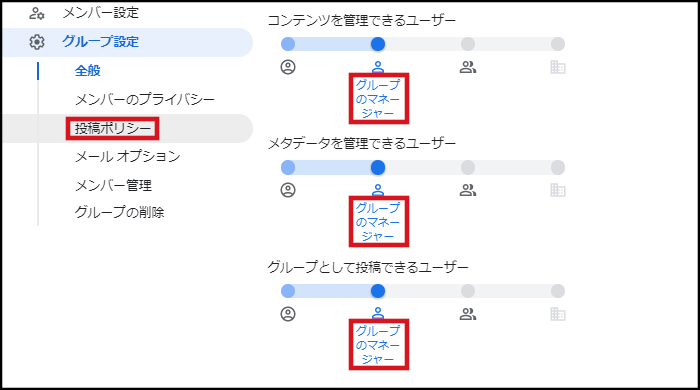
Click "Posting policies" in the left menu. Set the below of setting and click "Save changes".
- Who can manage content: Group managers
- Who can manage metadata: Group managers
- Who can post as group: Group managers
-
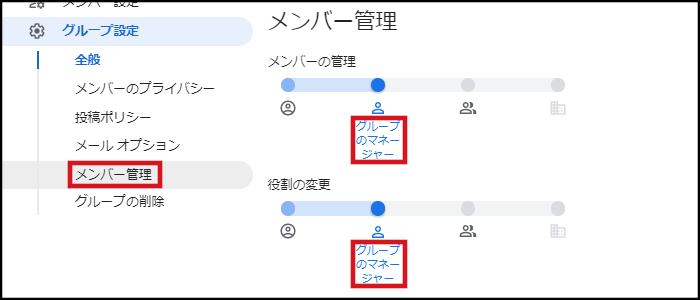
Click "Member management" in the left menu. Set the below of setting and click "Save changes".
- Who can manage members: Group managers
- Who can modify roles: Group managers
Replying to messages
Reply to messages on the group screen.
-
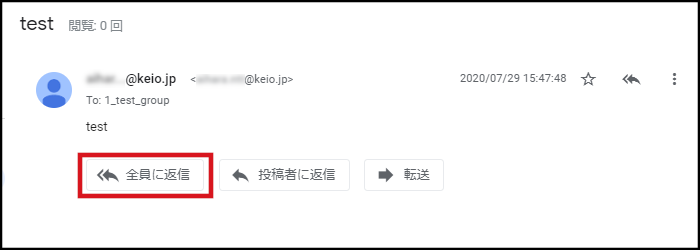
Display a given message and click "Reply all".
-
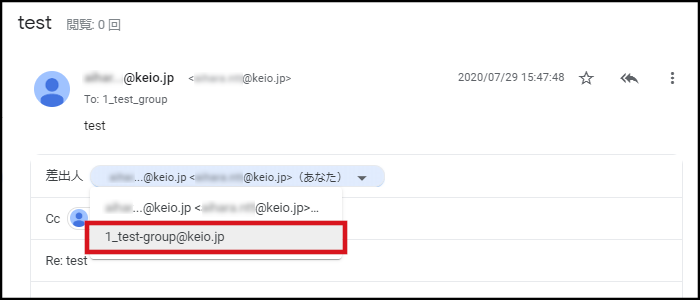
Select the email address of the group from the "From" pull-down menu. By doing so, you can reply to the message from the group’s email address.
-
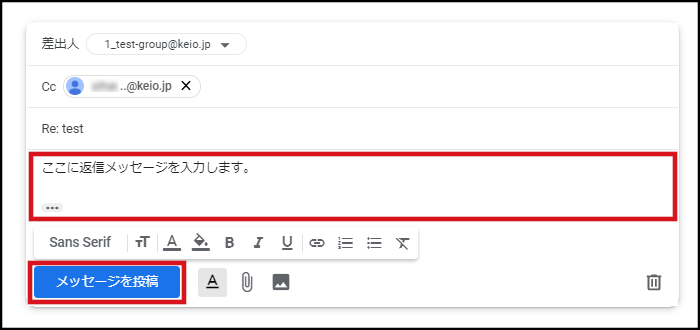
After changing the sender, enter the message and click "Post message" to complete the reply.
Last-Modified: October 12, 2022
The content ends at this position.